Tweeting images
January 7, 2012 at 10:02 AM by Dr. Drang
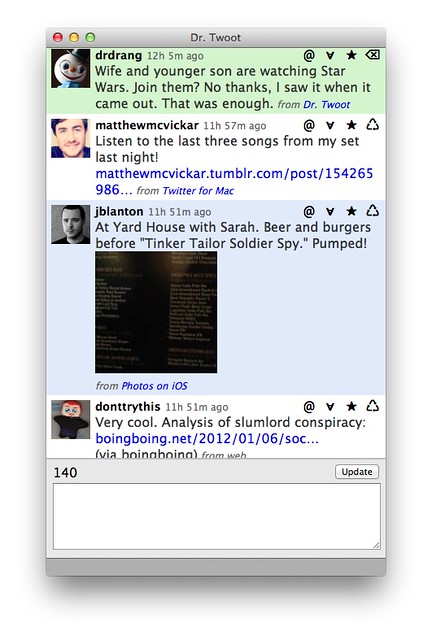
Back in August, I added some code to my personal Twitter client, Dr. Twoot, that allowed it to display tweeted images inline.
This ability is limited to pictures that use Twitter’s “native” image system, which includes the image data as a tweet entity. This isn’t as nice as having hooks to display images from all the common services—Flickr, yFrog, TwitPic, etc.—but it was easy to write, and I think more people will use the native system as time goes by.
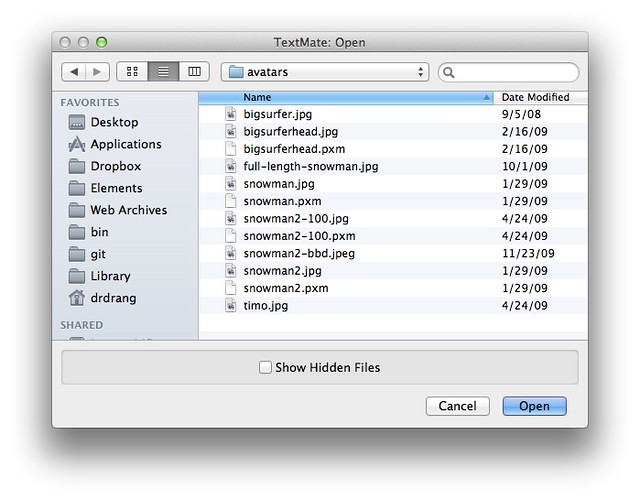
What I’ve wanted ever since adding this code was the converse: the ability to tweet images from within Dr. Twoot. I spent some time thinking about where I’d put the button that would bring up the file picker dialog, how I’d show the name of the image file after it was chosen, how I’d get the Update button to use the update_with_media method instead of the regular update method, and so on.
At some point, I realized I didn’t want to do any of those things. Although I wanted to tweet images, I didn’t want to do it from within Dr. Twoot. Or from within any application. I wanted to do it either
- as part of taking a screenshot, very much the way my snapflickr utility works; or
- from the Finder, by selecting a file and issuing a command.
These are more natural ways to choose an image than selecting it through the file picker dialog.
Programmers writing real applications have to use the file picker because they don’t get to split their app and puts bits of it here and bits of it there.
I decided to get the image through a Finder selection, as that seemed both more general and easier to write. I made a big cup of tea and sat down to write some scripts.
The first was a Python script, called tweet-image, that takes image file name and the text of the tweet as command line arguments and posts them to Twitter. I thought this would take some time to write, but by choosing a good library I was able to cut my work down to almost nothing. Here’s the script:
1 #!/usr/bin/python
2
3 import os
4 import tweepy
5 import sys
6
7 # This function pretty much taken directly from a tweepy example.
8 def setup_api():
9 auth = tweepy.OAuthHandler('consumer key',
10 'consumer key secret')
11 auth.set_access_token('access token',
12 'access token secret')
13 return tweepy.API(auth)
14
15 # Authorize.
16 api = setup_api()
17
18 # Get the parameters from the command line. The first is the
19 # name of the image file. The second is the tweet text.
20 fn = os.path.abspath(sys.argv[1])
21 status = sys.argv[2]
22
23 # Send the tweet.
24 api.status_update_with_media(fn, status=status)
As with all Twitter API scripts, you’ll have to get your own keys and tokens from Twitter if you want to run this yourself. The process for getting keys and tokens is:
- Sign in to the Twitter dev site and click the “Create an app” link.
- Enter a name and description for the app and agree to Twitter’s terms.
- Get the consumer key and consumer key secret and click the button to create an access token.
- Get the access token and access token secret.
These are the strings you enter in Lines 9-12.
The trick to having such a simple script is using a library that does all the hard work for you. I’m using a particular fork of the tweepy library that has the update_with_media method built in. Get the library from GitHub and run
sudo python setup.py installfrom within its main directory and you’ll be up and running.
Of course, I don’t really want to tweet from the command line. I want to be able to select the image file to tweet in the Finder. That means AppleScript.
You might argue that tea isn’t the right beverage for programming in AppleScript, and I’d agree with you, but it’s what I had handy. Here’s the script it led me to:
1 set tweetImages to POSIX path of ((path to home folder as text) & "bin:tweet-image")
2 set theSound to POSIX path of ((path to library folder from system domain as text) & "Sounds:Glass.aiff")
3
4 tell application "Finder"
5 set theSelected to the selection
6 set theImage to the POSIX path of (item 1 of theSelected as alias)
7 set imageName to name of (item 1 of theSelected as alias)
8 display dialog ¬
9 "What's happening?" with title ¬
10 "Image: " & imageName default answer ¬
11 "" buttons {"Cancel", "Tweet"} default button "Tweet"
12 copy the result as list to {the tweet, the instruction}
13 if instruction is "Tweet" then
14 set cmd to tweetImages & " " & quoted form of theImage & " " & quoted form of tweet
15 do shell script cmd
16 do shell script "afplay " & quoted form of theSound
17 end if
18 end tell
(One of these days I’m going to get syntax highlighting to work with AppleScript.)
The script is pretty straightforward, although it has the usual as text and as alias bullshit that I don’t think I’ll ever fully understand. I just know that if a script without those phrases throws an error, it can often be fixed by including them.
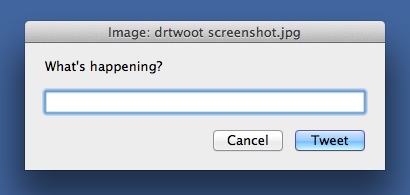
The script assumes you have an image file selected before you run it. It puts up a dialog box with the name of the image file in the title bar that asks you for the text of the tweet:
Type what you want to say, click the Tweet button, and the tweet and image get posted. Because this may take a few seconds, the script dings (using the afplay command) when it’s done. Because of the limits of AppleScript and the display dialog command, I can’t include a character countdown in the dialog. Not the best situation, but my image tweets usually don’t include much text.
I keep the Python script in ~/bin and the AppleScript in ~/Library/Scripts/Applications/Finder. I use FastScripts to launch the AppleScript, but you can use any launcher you like.
(If you’re a regular reader, you may be wondering why I split this into two scripts instead of doing it all in Python through the appscript library. The reason can be seen on the appscript status page:
Please note that appscript is no longer developed or supported, and its use is not recommended for new projects.
This is a sad state of affairs for those of us who used the library regularly, and I’ll probably write a post about it soon. But the upshot is that I’ll probably be doing more split scripts like this in the future, where text manipulation and network communication is done through Python, interprocess communication is done through AppleScript, and the two are glued together through either do shell script or the osascript command.)
Until now, I’ve been using the Twitter web page to tweet images, which was time consuming and clumsy. Now I can just click an image file, launch the script, and type my tweet. I don’t have much experience with making Services from Automator, but I can see where some variation on this would make for a useful contextual menu item. An exercise for the reader.
-
Actually, some developers do include AppleScripts and Services that allow features of their apps to be accessed from outside it. But those are add-ons that dip into the app, where all the core capabilities lie. ↩


