The iPhone as a DIY tool
July 1, 2011 at 8:31 AM by Dr. Drang
I finally got around to replacing the worn chainring on my bike, and, as with most of my DIY projects, I used my iPhone to document how the parts fit together as I was taking them apart.
To me, being able to use my camera as a pad of scratch paper is one of the greatest things about digital photography. Whenever I have to rewire an outlet or replace a valve or take apart anything with lots of pieces, I take photos to help me put things back together the right way. DIY projects are almost always one-offs—how often am I going to replace a water softener?—so every job is new and unfamiliar. The do-it-yourselfer just can’t build up the experience a professional can. Photos are a kind of artificial experience that can smooth over a project’s rough spots.
Before getting an iPhone, I used a regular digital camera to take project photos. My earlier phones had cameras, but the quality was never up to snuff. Even the original iPhone was unusable for some projects because its fixed-focus lens wouldn’t let me get close enough to take sharp photos of small details.1 It wasn’t until the iPhone 4 that I had a phone that could take good documentary photos for almost any project (and display them on a large, high-resolution screen, to boot).
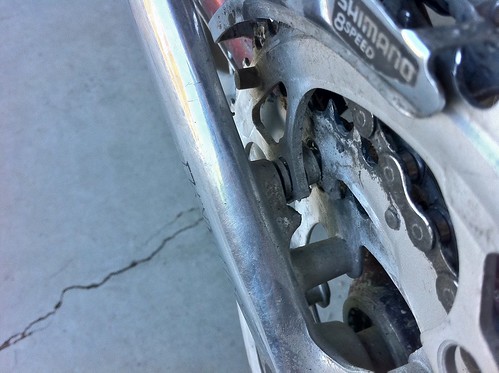
In this week’s bike repair, I had to remove all the chainrings from the crankset so I could replace the worn center chainring. Most of the work was straightforward, but one of the screws had two spacers to position the large and middle chainrings relative to the crankarm. The spacers were of different sizes, so it was important to remember which one went where.
Without this picture, I would not have remembered that the larger spacer went between the chainrings and the smaller one went next to the crankarm. (The positioning may not be as obvious to you as it is to me, but that’s because I had the advantage of having the actual bike in front of me as I reviewed the photo during reassembly. The wonderful thing about project photos is that they don’t have to tell their story to everyone, just to you.)
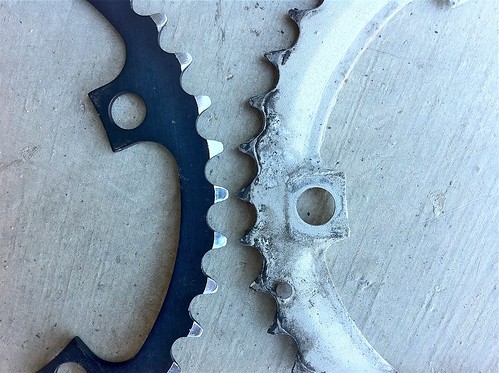
In addition to purely functional photos like the one above, I did take a few to remind me of the project as a whole. This one shows how badly worn the teeth on the old chainring were.
When I see the asymmetry of the old teeth, I’m surprised the chain stayed on at all.
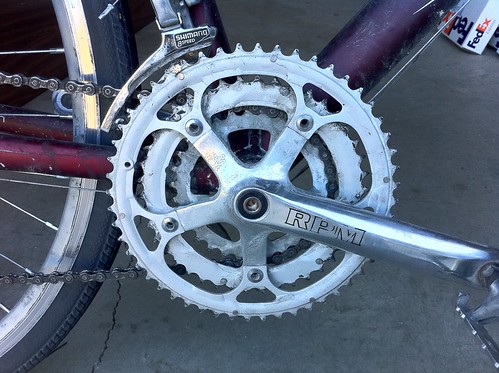
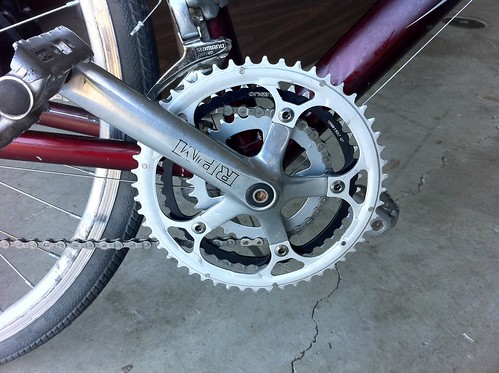
And of course I took before
and after
photos. Wish I’d matched the crankarm position of the “after” with that of the “before.”
-
In this epic post from 2008, you can see that my original iPhone’s camera was best at taking photos of objects two to five feet away. ↩


