
Poor man's cable release
July 6, 2009 at 4:30 PM by Dr. Drang
I was going to take fireworks photos on Saturday with my Canon G10, which has a fireworks mode (focus at infinity, 2-second exposure, f8.0, ISO 80), but decided that I was already carrying more to the park—chairs, blanket, bug spray, etc.—than I wanted to. Maybe I’ll take photos next year, when my boys are older and can share more of the burden. In preparation for the photos I never took, I “made” a cable release for the camera, the highly intricate plans for which are detailed below.
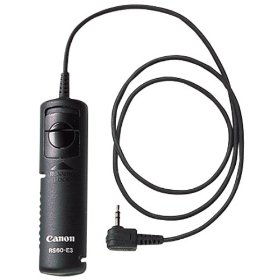
A cable release is way of remotely operating the shutter of your camera. Its used mainly to take long-exposure photos without touching— and thereby shaking—the camera. Canon makes a cable release for the G10, but it’s only two feet long and pretty expensive for an item that I don’t expect to use very often.
You can also use the G10’s self-timer as a sort of cable release. Set up the camera to use the timer, press the shutter button, and pull your hands back so the camera’s vibration damps out before the timer opens the shutter. I’ve used this method many times with several camera models; it works fine, but it is a bit slow and awkward compared to a real cable release.
The key to making your own cable release lies in recognizing that the official Canon product has a 2.5 mm (or 3/32″) TRS connector—i.e., mini stereo plug—that fits into a jack on the side of the G10’s body. This is just a smaller version of the standard 3.5 mm (1/8″) stereo plug you’ll find at the end of your iPod earbuds.
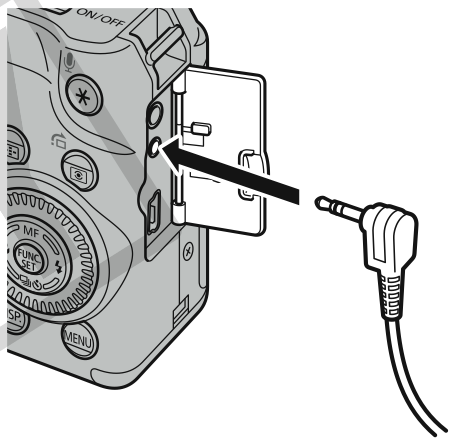
(Image taken from the G10 manual.)
Cables with 2.5 mm jacks are relatively rare, but cables with 3.5 mm jacks are as common as dirt. I had a couple of them in my electronic junk box, including a 10-footer that had the TRS jack at one end and a 9-pin serial connector at the other1. This cable, combined with a 3.5-to-2.5 mm adapter—which are fairly cheap—were all I needed.
Cutting off the serial connector and stripping back the insulation, I exposed the three wires inside the cable. One wire is connected to the sleeve (1) of the jack, one is connected to the ring (2), and one is connected to the tip (3). The TRS connector gets its name from these three parts: Tip, Ring, Sleeve.
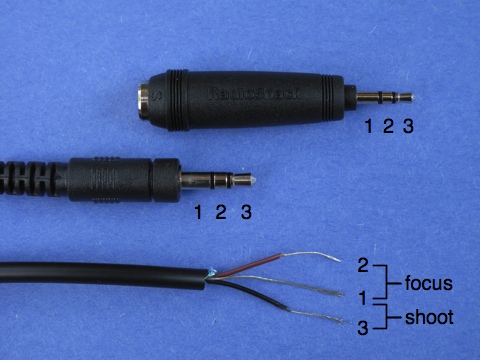
The image above shows the stripped wires in the cable, the 3.5 mm jack at the other end of the cable, and a Radio Shack adapter. The numbering of the tip, ring, and sleeve were taken from an image on the TRS Wikipedia page.
After plugging the cable’s jack into the adapter and the adapter into the port on the camera, it took less than a minute of experimenting to learn that touching the ring wire to the sleeve wire caused the camera to focus (like pushing the shutter button halfway down) and touching the tip wire to the sleeve wire caused the shutter to trip (like pushing the shutter button all the way down). There’s no need for power or any other wiring; just touch the wires to operate your camera remotely. Now you see why I said in the first paragraph that I “made” this release—there’s really nothing to it.
Eventually I’ll buy a cheap momentary switch and connect the raw end to it to give me something a little easier to use and less likely to unravel. But even without that, I have a working 10-foot cable release.
-
I don’t know what it was for, but I do know that none of my computers have serial ports anymore. I’ll never need that connector again. ↩